
Crimson Desert from Pearl Abyss is an epic open world action RPG packed with an overwhelming number of enemies and bosses. According to its in-game codex, there are an estimated 75-86 boss encounters across Pywel, such as main quests, faction storylines, Abyss dungeons, hidden corners of the world etc. You can find detailed information about the game’s intricate quests, challenging puzzles, and how to defeat bosses in Crimson Desert on the website ingametor.com.
Not all bosses are created equal; most story bosses can be defeated with careful parrying and healing when understanding rhythm; however there are certain encounters known for their brutality due to unique environmental hazards or punishing movesets or enormous health pools which may drain all your supplies long before even reaching the final phase!
This guide presents Crimson Desert’s most challenging bosses – both mandatory story encounters and optional challenges – through community consensus and in-game mechanics.
If you’re experiencing early game walls or endgame horrors, this top list provides all of the information needed: who they are, where they can be found, whether or not you must face them and, most importantly, how to actually beat them and win!
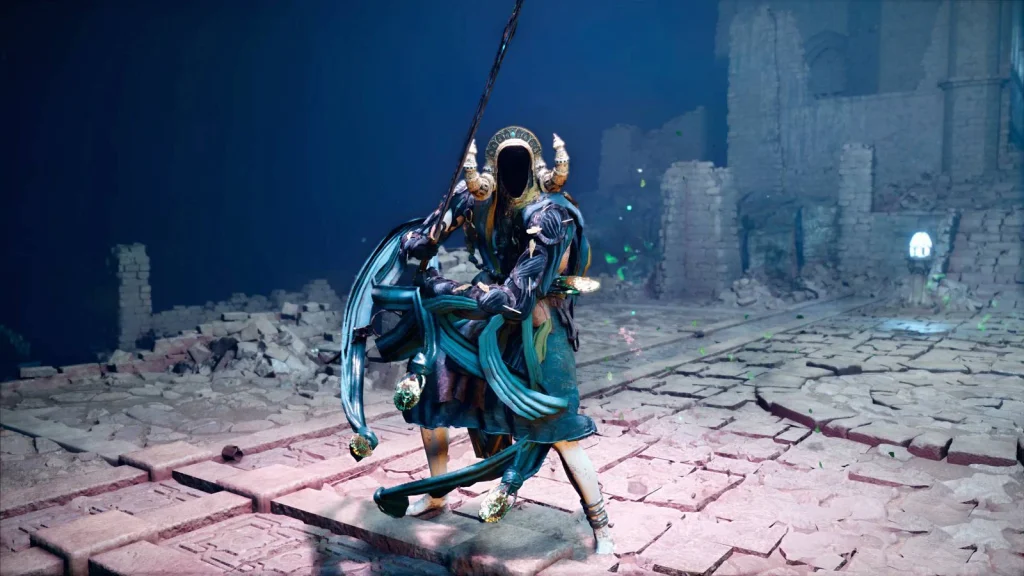
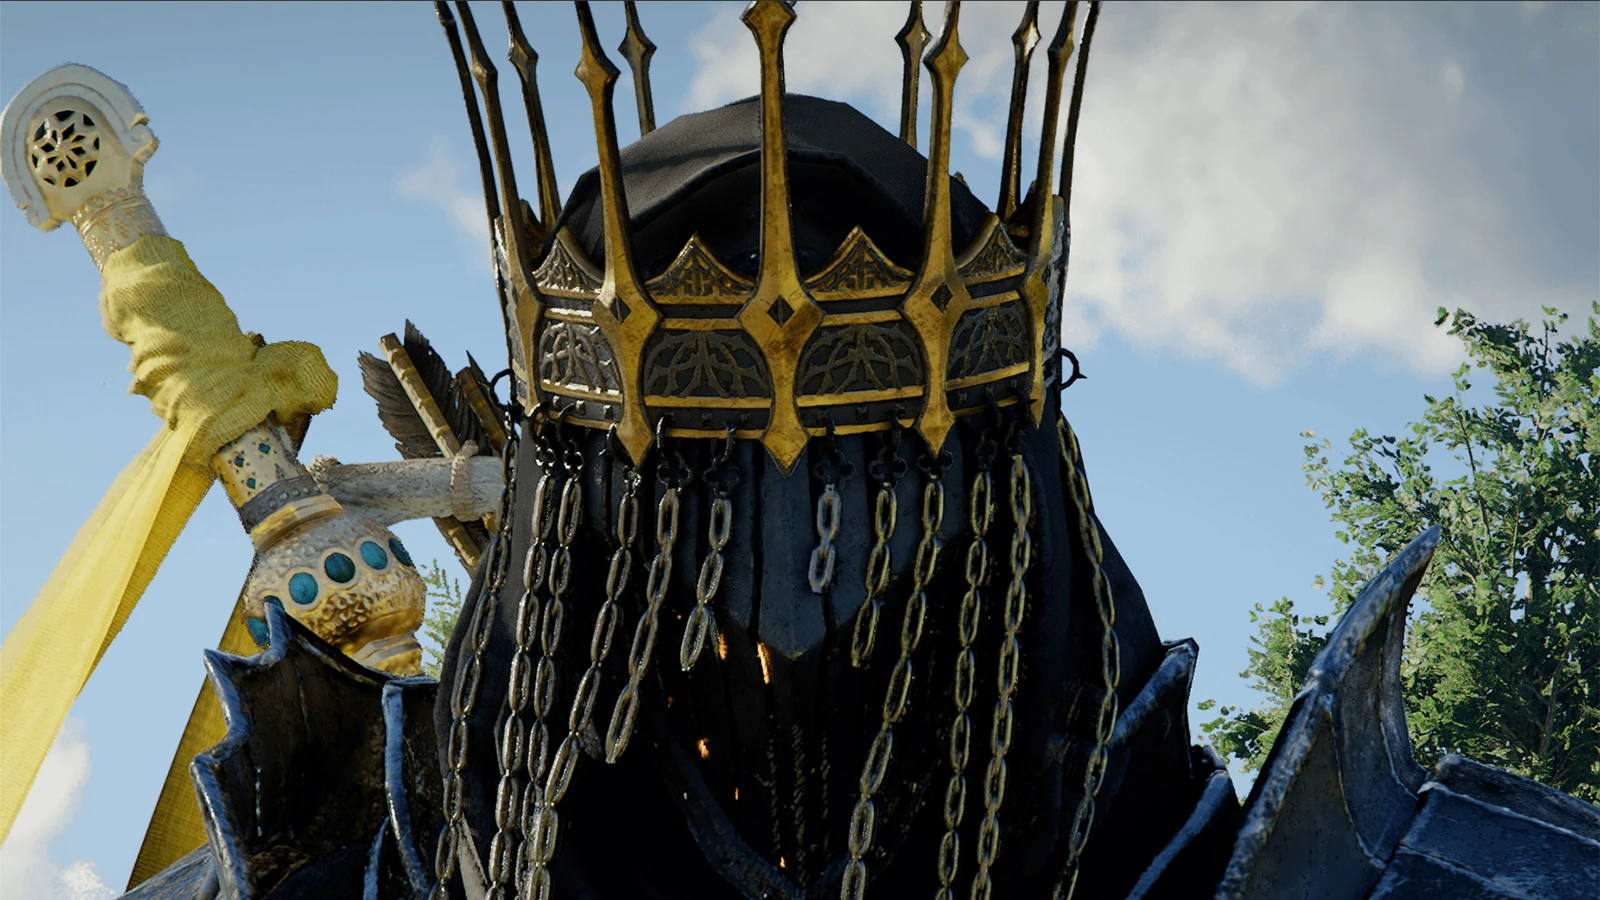
Antumbra’s Sword – Crimson Desert Antumbra’s Sword Sanctum of Absolution boss guide how to beat
How to beat Antumbra’s Sword one of the more challenging optional bosses in Crimson Desert and acts as a dangerous gatekeeper to the Sanctum of Absolution in Hernand region, directly south of Scholastone Institute.
While not part of a core story path, but required for Witches faction questline tied to Elowen, the Witch of Wisdom; engagement meaningfully cannot begin until Chapter 5, when Elowen becomes available – players entering before then will find it devoid of content; an Abyss Nexus fast travel point nearby should also be activated so repeat attempts do not waste time on travel between runs.
Antumbra’s Sword can be especially brutal due to its zero-tolerance approach and moves that can end your life within one or three hits. His most powerful abilities include Triple Illusion Strike, which summons ghost-like figures, and Ground Thrust, which sends sword waves rippling across the entire arena – both can easily one-shot an unwary player.
Blinding Flash is the key countermeasure against Ground Thrust: use it the instant you see him lift his sword with both hands to abort his attack completely. For the Triple Illusion Strike sequence, wait until after the third teleport attack lands before firing Blinding Flash to interrupt its progress.
When red hue appears around a boss, any attacks are completely unblockable – only dodge attacks in between vertical slashes in order to stay safe from further attacks.
Focus mode provides the most successful overall strategy; once in, wait for Antumbra’s Sword to initiate its melee swing and spam the block input in order to guarantee parrys. Each successful parry staggers the boss and opens up an opportunity for full combos.
Repetition of this loop fills Antumbra’s poise bar gradually, and once it reaches maximum capacity, its Sword becomes vulnerable for an extended period of time, giving way to multiple consecutive combos being executed more freely.
Force Palm can also serve as an effective interruption during long wind-ups or the early frames of a teleport, and consistent usage helps build your stun meter for additional free damage windows. Bring at least three to five Palmar Pills, upgrade your gear to refinement tier three or four and stockpile Clear Soup or other high-value healing items rather than basic Grilled Meat for healing purposes.
As your victory reward, the Vessel of Dark Pursuit two-handed sword offers a substantial prize. Equipped with the Wound of Darkness special attack mapped to Turning Slash – replicating what the boss does during battle – its relevance extends well into late game with proper refinement.
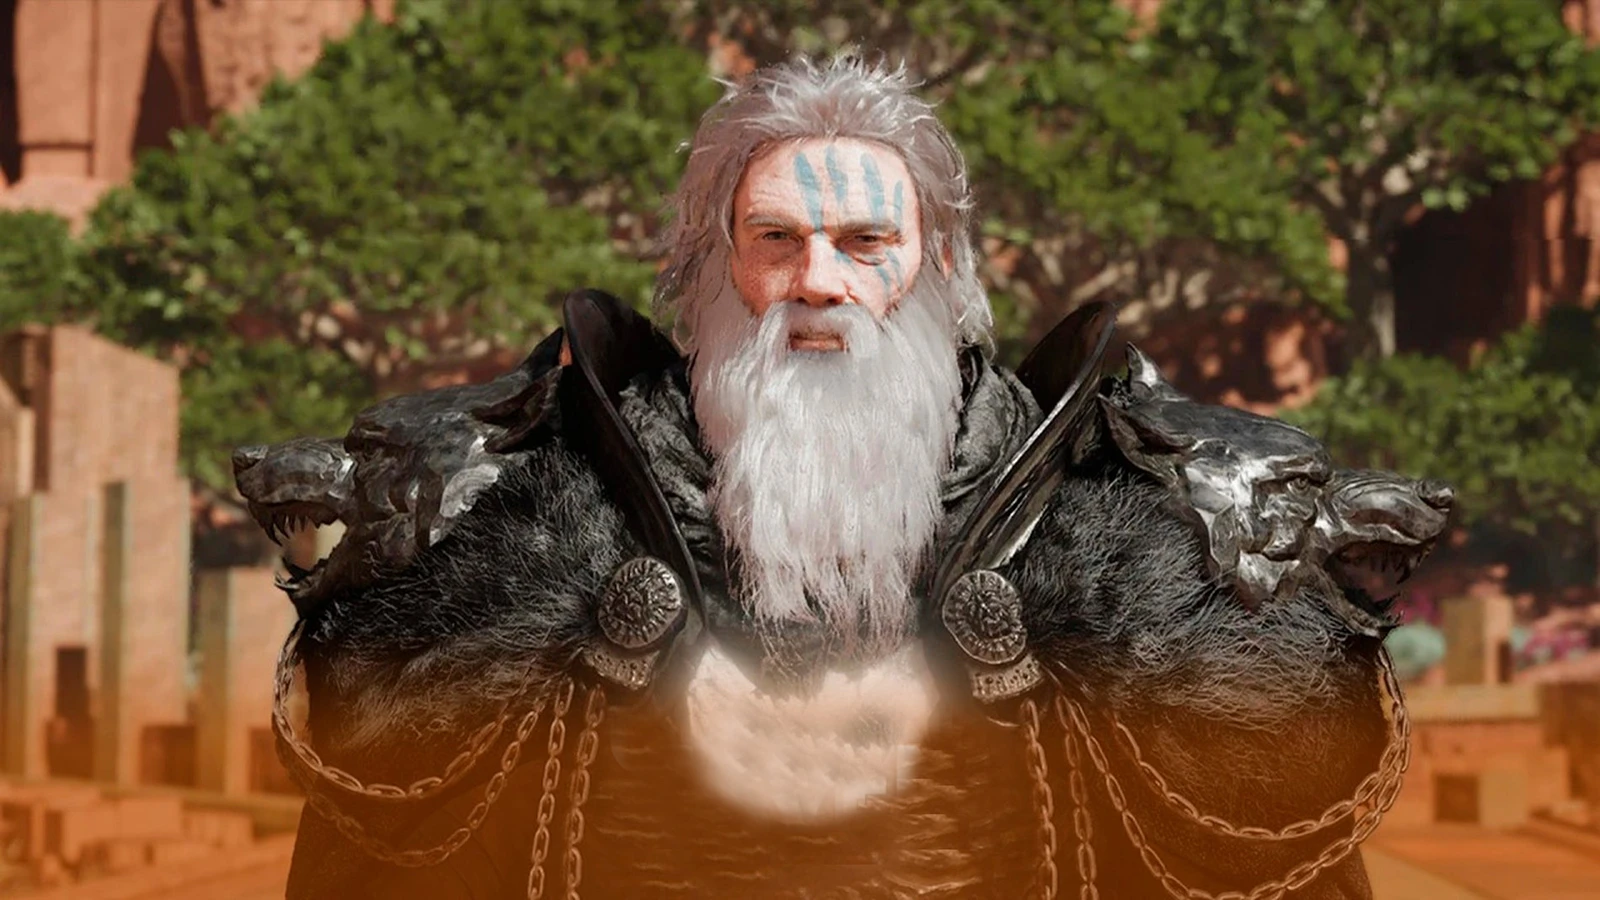
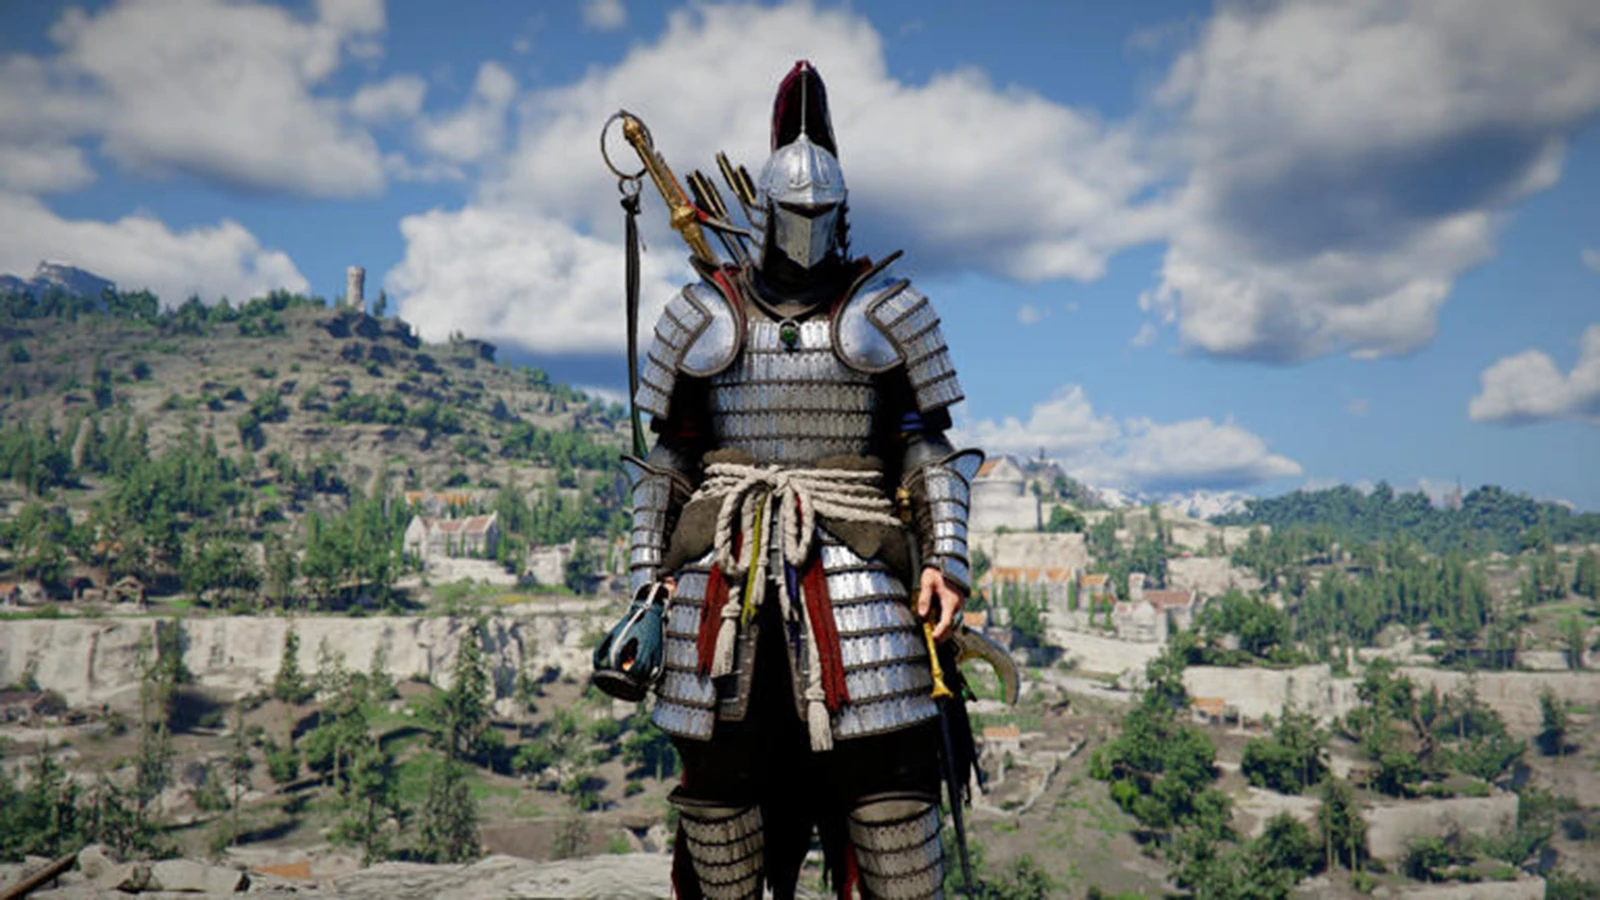
Goyen – Crimson Desert Goyen Nest of Valor Abyss boss sword shield one-shot
Goyen is an Abyss boss found in the Nest of Valor dungeon that’s part of the Unwavering Steps quest in the main storyline. Notably, he does not show up in the Knowledge tracker; thus classifying him as one of several secret encounters along with Master Du.
Goyen resembles you exactly; an older, weathered warrior with your moveset; using sword and shield combat techniques along with Turning Slashes, blocking aggressively, and offering Turning Slashes as opposed to combat using sword and shields himself – all characteristics that Kliff has learned on their journey thus far. Goyen serves as an Abyss boss that proves your proficiency; narratively.
Goyen hits exceptionally hard despite only possessing one health bar, his most dangerous move being an aerial leap that produces an explosive shockwave capable of killing you instantly if your armor and maximum health have not been upgraded properly.
After each slam, he always follows it up with a midair kick, so dodging just one impact isn’t enough – dodging sideways until both components of his sequence land is necessary for survival. His sword combos closely resemble Kliff’s own attacks, making them easy to anticipate and parry if you pay attention to your own combat patterns.
The safest overall strategy involves using a large shield with the parry-attack-Force Palm loop in mind: block his strike, hit twice before landing three Force Palms to fill up your yellow stagger bar and trigger staggering. As soon as staggering occurs, switch over to Longsword or Spear for burst combos and turning Slash finishes using Longsword/Spear combinations or long sword/Spear finishes for burst combos and Turning Slash finishers respectively – do not ignore Watch and Learn prompts which appear.
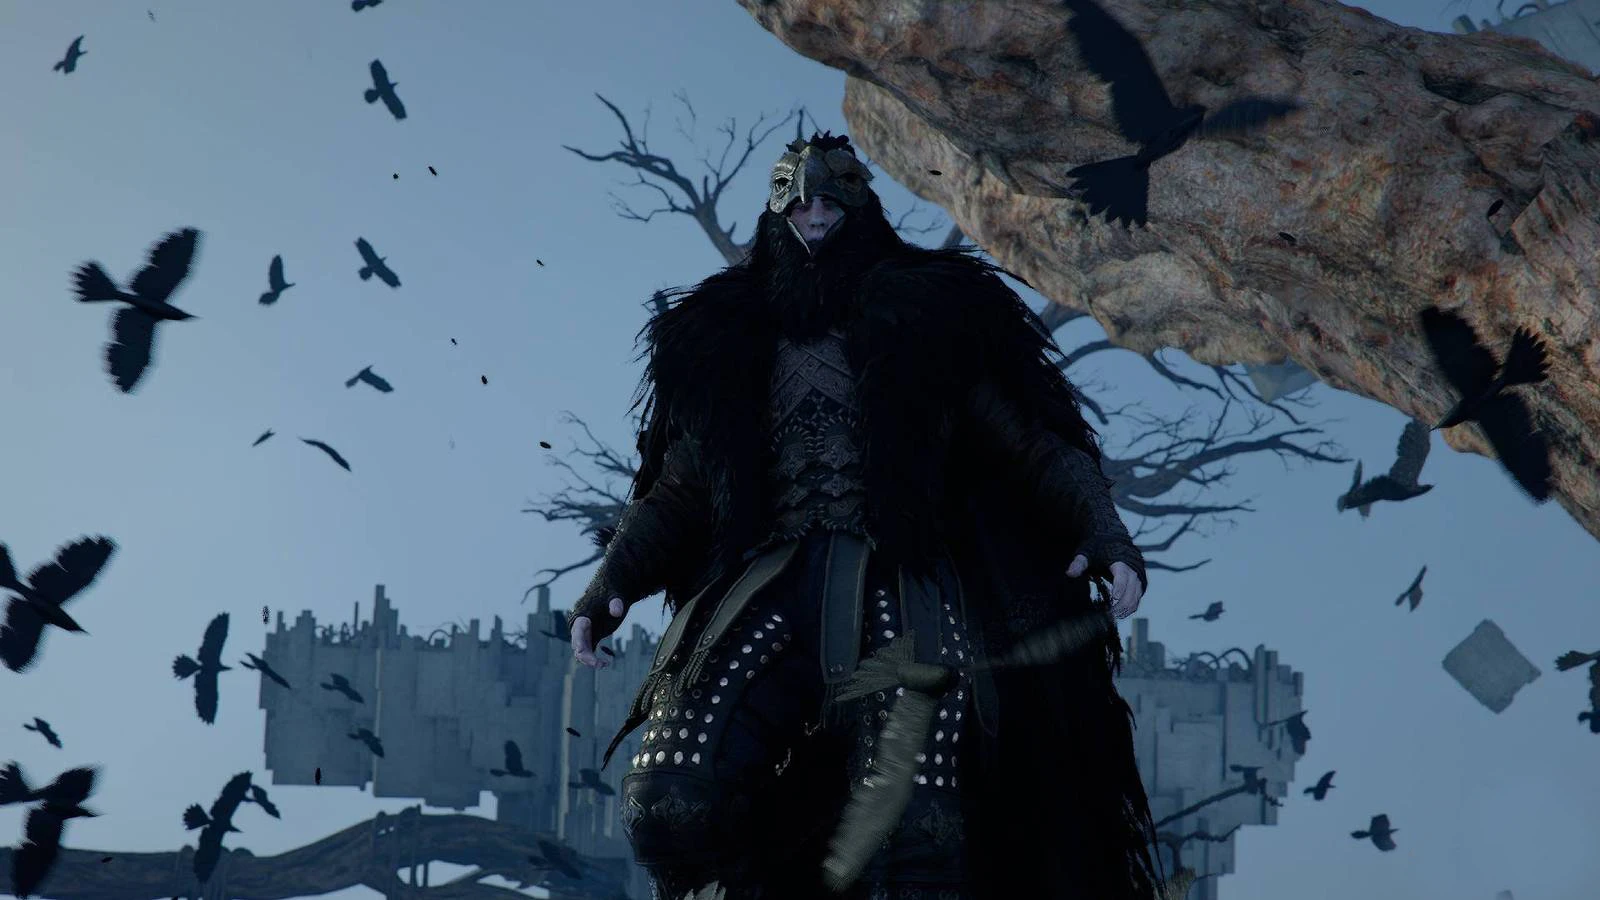
Crowcaller (Draven the Crowcaller) – Crimson Desert Crowcaller boss guide Crow’s Nest Abyss Nexus
Crowcaller (Draven the Crowcaller) is one of Crimson Desert’s most agile and visually dynamic bosses, situated at Crow’s Nest in Abyss Nexus and accessible via Abyss Nexus’ Abyss Nexus map.
Although not a main story boss, he plays an important role in late game questlines as part of an unusual encounter called Crimson Desert Questline; its main defining trait being his ability to transform into crows mid-battle; his fight stands out by using these abilities against opponents’ attacks while simultaneously moving him away to other parts of Abyss Nexus map to avoid attacks reposition.
His attack patterns share DNA with those seen from Hornsplitter and Reed Devil in terms of pure pace repositioning tactics used against other bosses within Crimson Desert Quest questline questline questline questline questline questline encounters offered in Crimson Desert’s Crimson Desert encounters.
Crowcaller’s most devastating move is his dive-bomb. This move involves him jumping high into the air, performing an aerial dodge maneuver sideways, and then diving towards your position – two times in succession during phase two; three times before finally landing. Once you learn to identify it, the pattern becomes easily discernible: when an opponent goes airborne, stop all offensive efforts immediately and plan for sideways dodging moves to counter his approach.
One key reward from this fight is Crow’s Pursuit Abyss Gear, which will later prove useful when facing off against harder endgame enemies like Beloth the Darksworn. Furthermore, during this encounter the Watch and Learn mechanic enables Aerial Roll – an indispensable dodge maneuver later in the game.
Queen Stoneback Crab – Crimson Desert Queen Stoneback Crab boss location Delesyia Redfox Forest weak points
The Queen Stoneback Crab boss fight is one of the most visually impressive optional bosses in Crimson Desert and represents an entirely unique design philosophy from most humanoid encounters found throughout Crimson Desert’s roster of bosses.
She can be found at Stoneback Crab Wetlands in Delesyia within Redfox Forest, accessible through Diederik – a lost Greymane NPC found east of City of Demeniss – via Diederik’s side quest “The Queen’s Lake.” Luckily she can be unlocked relatively early; once players establish Howling Hill camp early enough. She can even challenge players before many are fully prepared.
The creature resembles a hill covered with precious mineral nodes, and when Diederik approaches her she attempts to mine it using his pickaxe only to be overwhelmed by her. When this cutscene plays, however, all of its structure comes to life! The Queen is immense, turning simple positioning into an ongoing challenge as geysers erupt around her and add environmental danger. To damage her effectively, you must employ mid-air plunge attacks on her that break off ore deposits or minerals that cover her shell and break through its layers of ore deposits and minerals encrusting it.
Once those have been cleared away, weak points appear on her back – green glowing spots that you must physically climb onto and stab with an object attached to her body. Every successful stab pull depletes some portion of her blue health bar. Breaking ores, climbing, and stabbing should be repeated two or three times until the blue bar empties and the red one appears.
Once this occurs, simply destroy her magical jar of clay pots on her back to end the fight and unlock Diederik as an armor vendor at Howling Hill Greymane camp – making this challenge well worth pursuing!

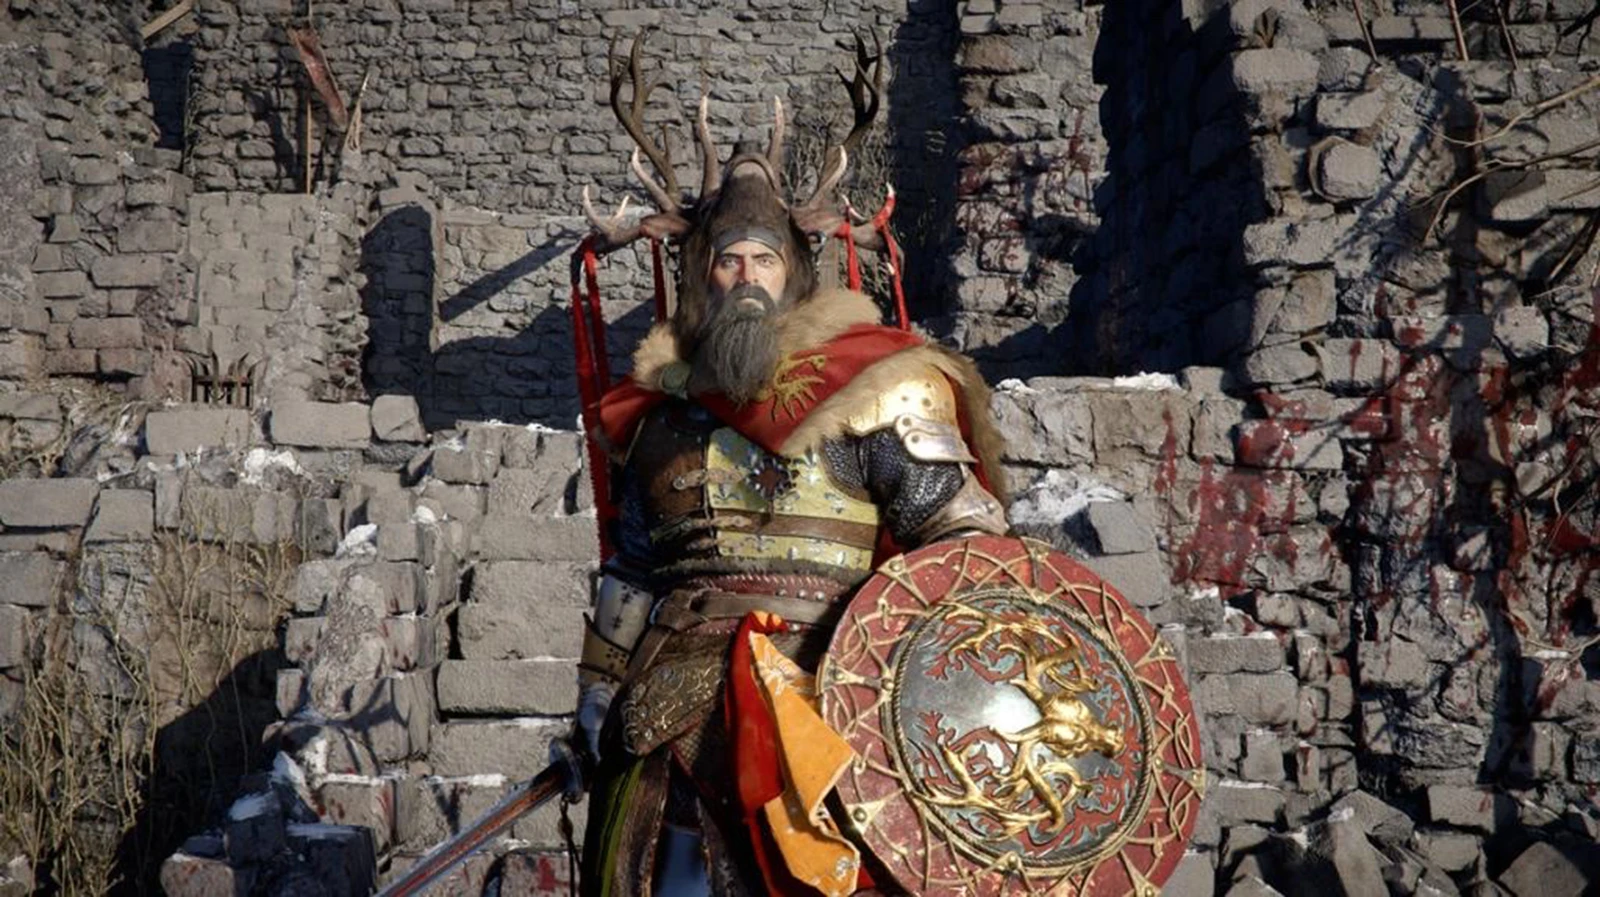
Saigord the Staglord – Crimson Desert Saigord Staglord Icemoor Castle boss three health bars
Saigord the Staglord is widely considered the hardest non-world-boss encounter in Pailune region and poses an extreme difficulty wall if approached unprepared. His fight takes place inside Icemoor Castle Ruins accessible through Haunted Hill Abyss Nexus; his fight occurs within an atmospheric snow-covered throne room which sets an appropriate atmosphere – Saigord himself is an armored swordsman with three full health bars and distinct phase transitions reminiscent of Cassius Morten earlier on in Pailune region.
His Phase 1 involves conventional sword-and-shield attack chains that reward careful parrying. His Phase 2 features leaping overhead slashes and ground shockwaves designed to punish players who rush him with reckless combos. Phase 3 brings on an aggressive state, where attack speeds increase exponentially and the time window to react reduces drastically.
Methodical counters should include using Parry-Counter consistently for reliable damage between his burst sequences, using Turning Slash with Super Armor Break to disrupt two-handed power strikes and carrying Spirit Gauge Restore potions for use as they transition into Phase 3.
Stepping into Phase 3 with no energy left can often spell doom for players, but those equipped with the Mantle of Frost ability can take advantage of the cold environment by unleashing it to freeze Saigord during Phase 3 transition, providing a guaranteed burst damage window which could turn the tables.
Beloth the Darksworn – Crimson Desert Beloth Darksworn Hoenmark Ruins hardest optional boss ice resist
Beloth the Darksworn is widely acknowledged to be one of the hardest bosses in Crimson Desert, and the game recognizes this fact by classifying him as an Overwhelming Being (one of three available). You’ll find him at Hoenmark Ruins in Hernand’s far northwest corner; although you can reach him from almost any point during Chapter 6, liberating Pailune unlocks his questline formally and unlocks him on its questline proper; approaching these ruins without starting it still allows players to stumble into his trap, often ending in one-shot death!
Beloth stands out as an especially brutal opponent not just due to his large health pool or hard-hitting attacks – it’s because of how his environment conspires against you.
The arena is set on an icy lake, where constant cold temperature inflicts lasting damage upon your health while filling a freeze meter on your stamina bar. When this meter fills entirely, you freeze solid and become vulnerable to lethal punishment from Beloth – almost always an instant death sentence awaits you. Before engaging in this fight, equipping with ice resistance must be considered an absolute requirement.
To achieve Level 10 Ice Resistance from one piece, it is advisable to purchase the Frostcursed Plate Armor and upgrade it into Kuku Cold-Resistant Armor before supplementing it with Frostward III Abyss Gear. Fire-elemental attacks deal extra damage and stagger Beloth, making weapons or Abyss Gears that deal fire damage such as Groundsurge or Parting Gift particularly valuable.
A pillar-based fighting strategy is the most reliable approach: fight near stone columns in the arena and bait Beloth into attacking while you hide behind them, punish his attacks with heavy two-handed weapon swings after each sequence, and use the pillars to break line of sight in order to reset the freeze meter and reset its freeze meter by breaking line of sight with him.
His ice spear attacks can quickly one-shot even well-equipped players so quickly identifying when you feel threatened is key for survival – being aware when this wind-up happens is key!
The Forgotten General – Crimson Desert Forgotten General boss General’s Tomb Pailune Slumbering Soul quest
The Forgotten General is one of three Overwhelming Beings and widely considered one of the most chaotic and arena-intensive encounters in all of Pailune. She can be found within General’s Tomb, near Pailune’s far northwest point. Accessing it requires completing enough Pailune Faction Quests so as to unlock “Slumbering Soul”, an Odeck Tribe questline.
Players arriving without progressing this path will encounter an empty tomb; any time she isn’t present it means more questline progress – or that she might even show up – an indication that she needs furthering her questline!
What sets The Forgotten General apart is her intricate attack patterns. She strikes quickly and for immense damage that can kill any defense level instantly; her melee pressure includes wide arena-clearing attacks which call in ghost soldiers from all across the floor. Her health pool is enormous, which means the fight can last even with an optimized build for extended duration. Her arena is cold as well, necessitating environmental ice resistance requirements similar to what was seen during Beloth’s fight.
The optimal strategy involves maintaining constant aggressive stagger pressure: employ Turning Slash in combination with Fire Imbuement (triggering Volcanic Eruption if equipped with Scorchflame Plate Gloves ) to quickly fill her stagger bar, then execute Finishers during her brief time downed for maximum damage potential. Staggering-and-punishing are more effective and safer strategies than directly engaging her.
Players discovered a ranged cheese position involving a wooden beam above the arena that can be reached via chaining Force Palm jumps, providing for sustained Focused Multishot with Explosive Arrows from safety – although her invulnerable phase still fires an explosive ground bomb upward, necessitating Force Palm dodges during learning stages to prevent an upward ground explosion from being fired by her invulnerable phase requiring dodges as well. Bring Palmar Pills regardless as this battle requires multiple attempts for success during learning!
Ator, Archon of Antumbra – Crimson Desert Ator Archon Antumbra Cloister of Ruination boss guide
Ator, Archon of Antumbra is one of the three Overwhelming Beings and holds the record for endgame boss difficulty in Crimson Desert. Antumbra serves as the head of Antumbra’s Order – the evil force responsible for all the Witches’ Sanctums across Pywel – and wields near-divine authority within his faction.
Ator’s Cloister of Ruination can be found southwest of Silverwolf Mountain in Pailune and will remain sealed until all three of Antumbra’s lieutenants – his Sword, Spear and Staff – have been defeated. Puzzle completion in Sanctums is not necessary – only boss kills count towards opening all three seals within his stronghold and reaching Ator on its lowest floor.
Ator’s defenses are so formidable that even well-armed players describe their attacks as barely registering against him, while his attacks possess one-shot potential that no amount of armor can fully negate. His signature ability consists of unleashing orbs of dark energy that follow you around the arena, pinpointing where you stand in space.
Nature’s Retribution can provide an effective counter against these orbs by deflecting them back at him – each deflection deals significant stagger damage and disrupts their follow-up patterns. Be mindful that after deflecting an orb, Ator will often quickly follow up with his golden hammer; therefore, deflect quickly and dodge back without hesitation.
For sustained damage, the optimal loadout combines a two-handed weapon – such as Darkbringer at Level 9, due to its increased chance of critical hits – with Ator’s Orb and Groundsurge Abyss Gears to accelerate stagger buildup and stagger growth. The Plate Armor of Shadows set, obtained from Beloth the Darksworn, provides Ator with protection to withstand even his fiercest attacks.
Destroying Ator unlocks some of the finest endgame loot in all of Ark: Darkbringer (also located northwest of Silver Wolf Mountains; however, defeating Ator grants access to this version), Ator’s Will armor set, and Seal of Pitch-Black Darkness ring.
